


Once you start using Devo SOAR on a regular basis, you are likely to spend a lot of time in the Cases section, located in the Cases Management section of the menu. There are two types of search boxes: Basic and Advanced, which you can choose in the drop-down menu as you can see in the image below:
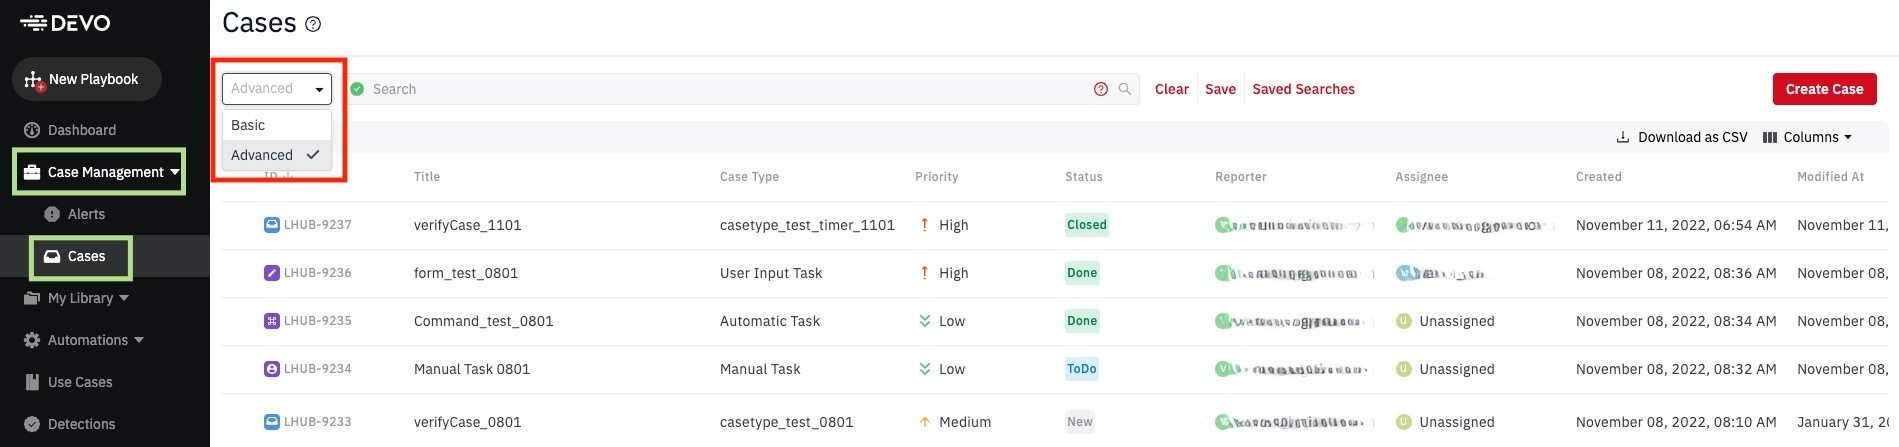
The Basic mode renders a drop-down list for every column so that users may simply select what they want.
If we jump to the Advanced mode, more knowledgeable users can enter a query in the search box to use as a filter for the table. For example, if we only want cases with a “New” status, we need to type:
issueType = 'case' AND status='New'Also, you can save your searches and see them by clicking on the corresponding buttons:

The example table of the image shows the following information about the cases in columns:
-
ID
-
Title
-
Case Type
-
Priority
-
Status
-
Reporter
-
Assignee
-
Created
-
Modified at
Let’s see how we can use those columns in order to obtain the most accurate info for our data tables.
Prerequisites
-
Access to Devo SOAR
Instructions
-
In the left menu, go to the Cases Management menu and select Cases.
-
Then, at the top right of the Cases window, you will find the following drop-down icon where you can select the columns you want to appear later in your data table:

-
Once you have selected the columns, they will appear in the window by order of the columns' selection.
-
Also, in case you need to use the table out of the website, there is an action to export all entries in a CSV format (icon below). It exports a list of all cases with the fields currently active in the table:
